Manage metadata via Dashboard
This section will teach you how to view and manage static QR Ph codes on your PayRex dashboard.
Manage your static QR Ph on your dashboard, whether you're collecting payments on your main branch, on an event pop-up, or on a rolling food truck.
Learn more about how our static QR Ph product through this guide.
Ready to receive in-person payments? Follow the steps to create and manage your static QR Ph codes:
1. Create a static QR code
- After logging in on your dashboard, go to the Static QR Ph resource.
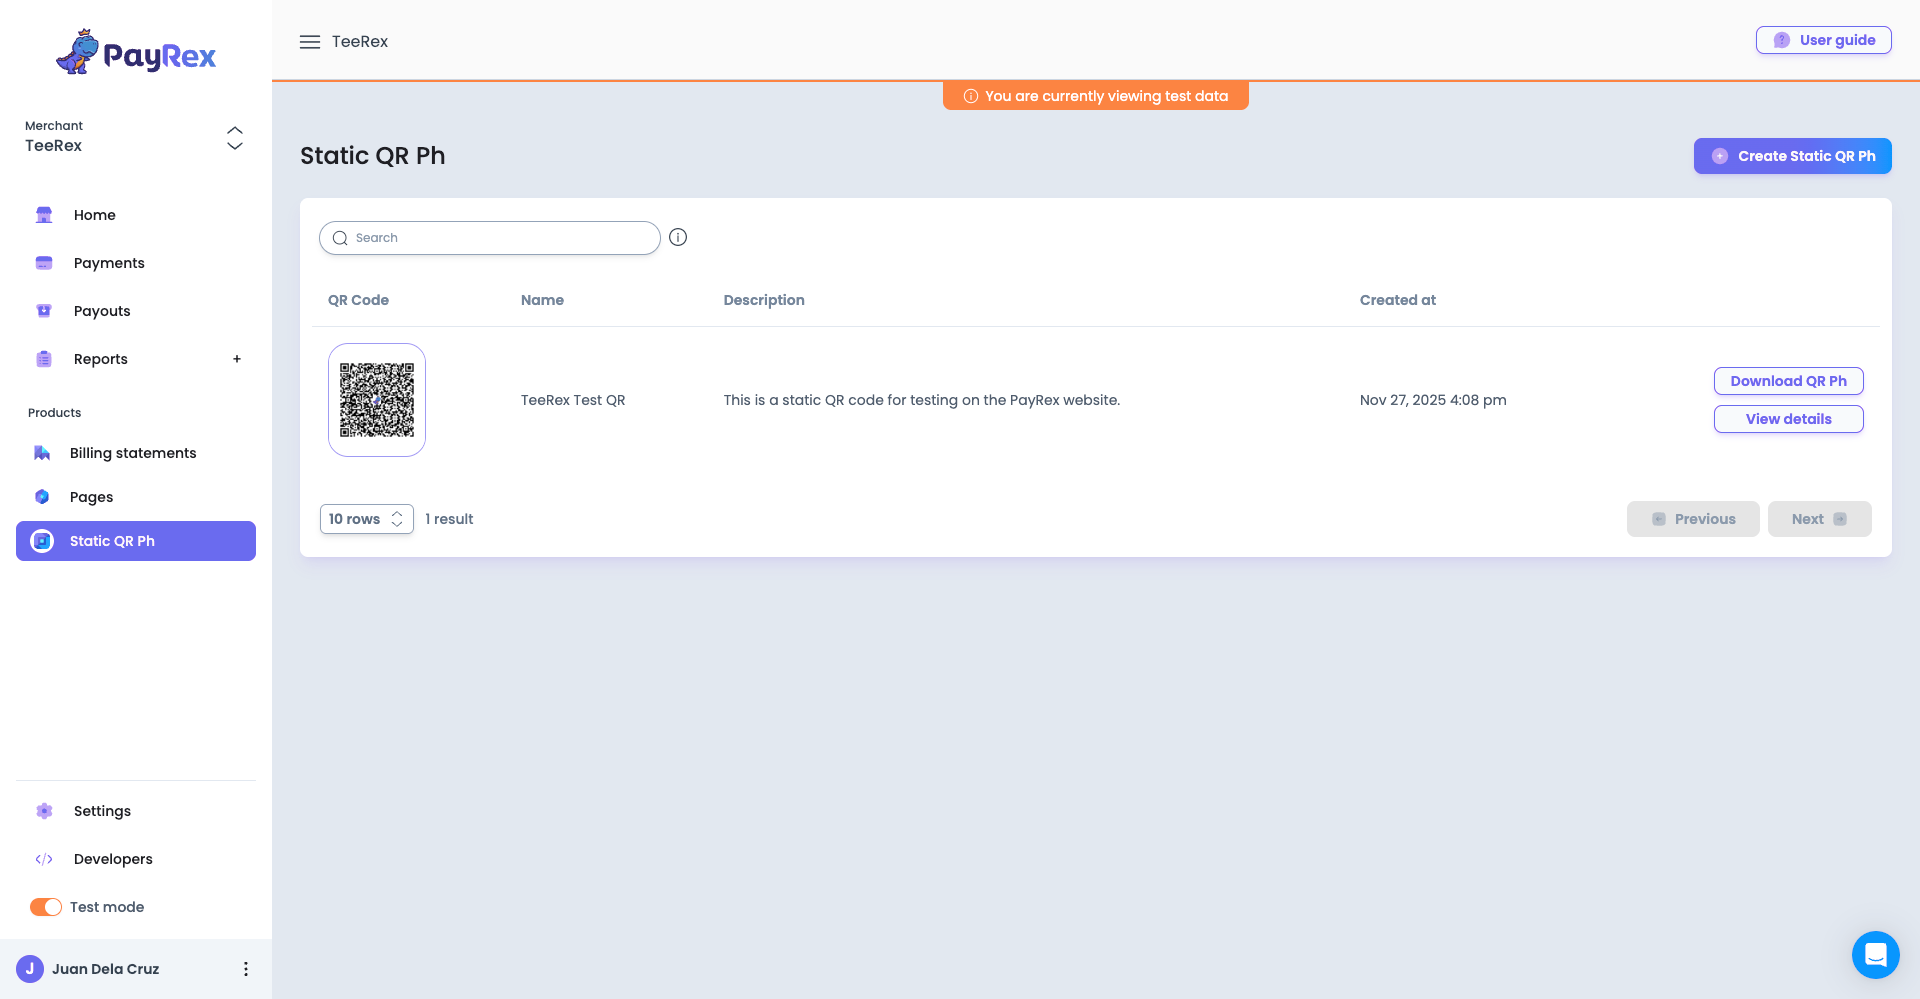
- Click the Create Static QR Ph button and fill up the fields.
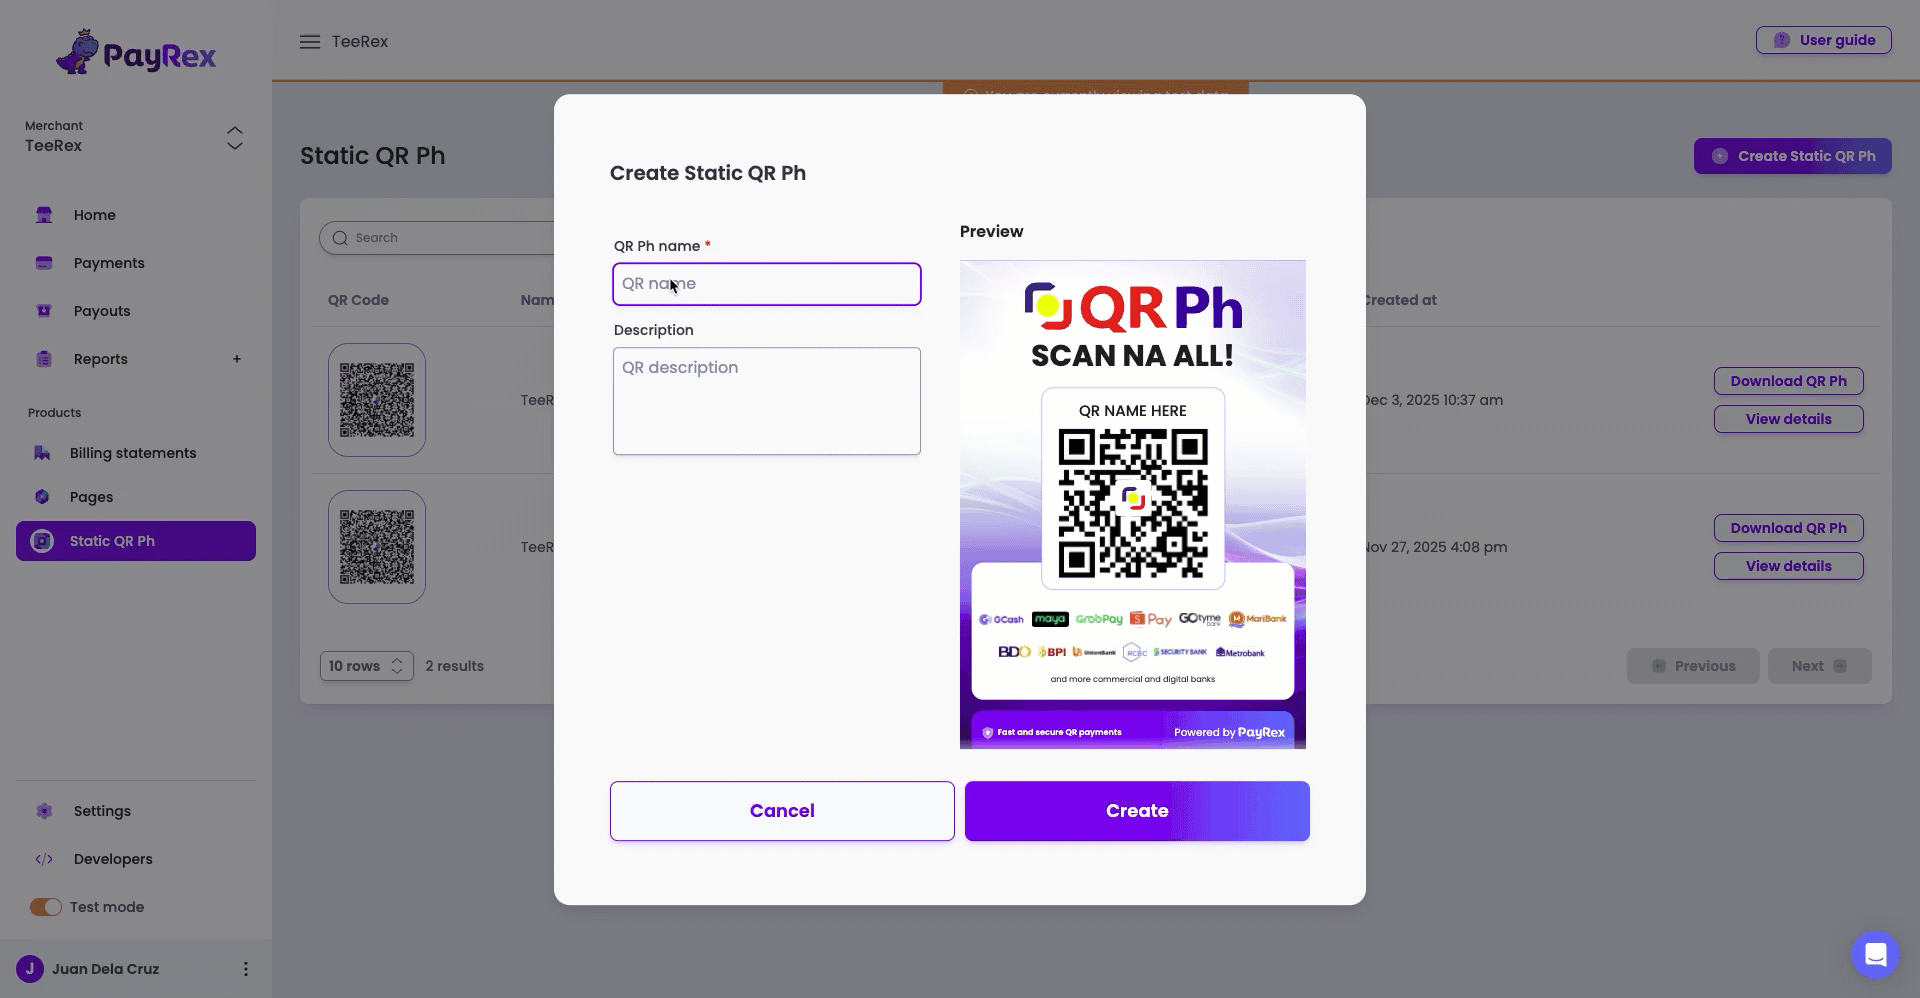
- Give your QR codes a short, descriptive name. This will also be displayed on the layout that you will eventually print out later on.
- Add other supporting details on the description field to better identify the purpose of the QR Ph code.
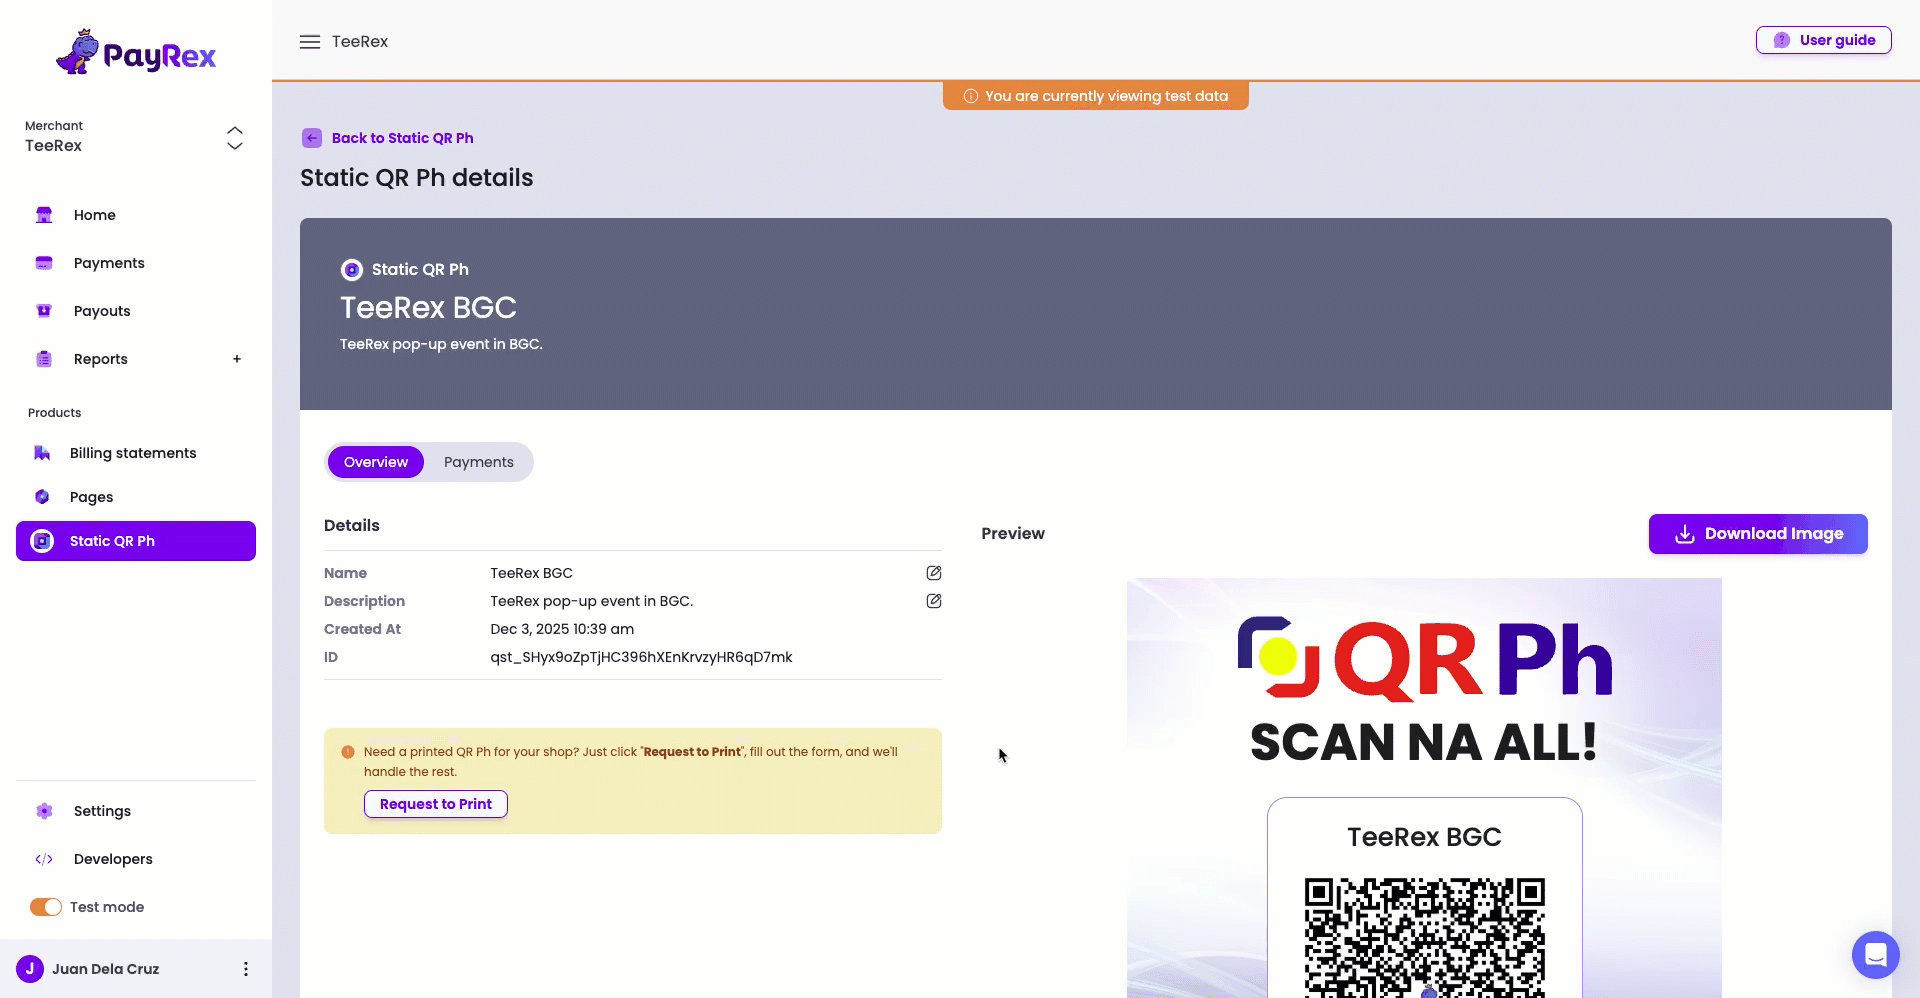
- After you create the static QR Ph code, you will be redirected to its details page where you can update its fields.
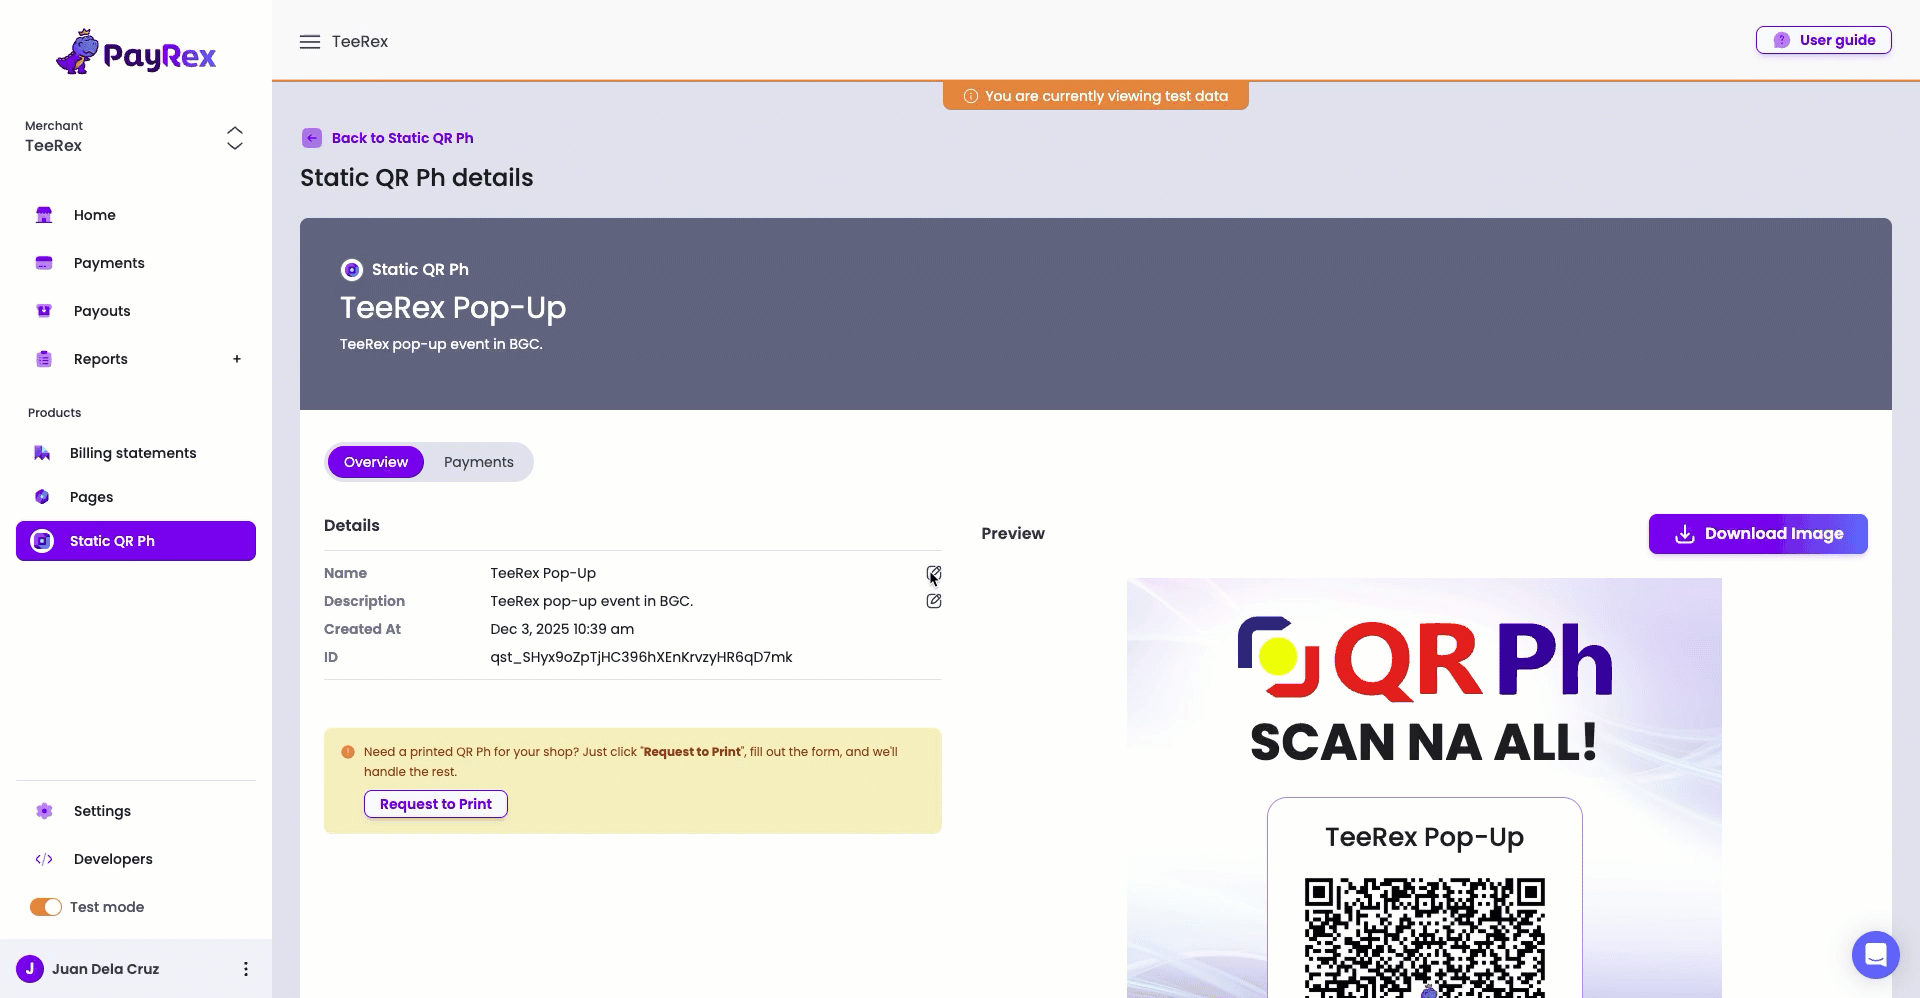
Details
These are the primary information about a specific static QR Ph code:
- Name: This is the label of the QR Ph code, which will also be displayed on the downloadable image for printing.
- Description: This is a high-level information about the QR Ph code and is not visible to your customers.
- Created at: This is when you created the static QR Ph code.
- ID: This is a unique identifier of the static QR Ph code.
Metadata
The metadata section is where you can note important information that only you and your team members can view.
Learn more about how you can incorporate metadata in your business here.
2. Download and print your Static QR Ph code
If you are satisfied with the displayed name on the preview pane, you can download the high-resolution image that you can display in your payment points.
- Click on the Download Image button, do final checks on the image, and download the file.
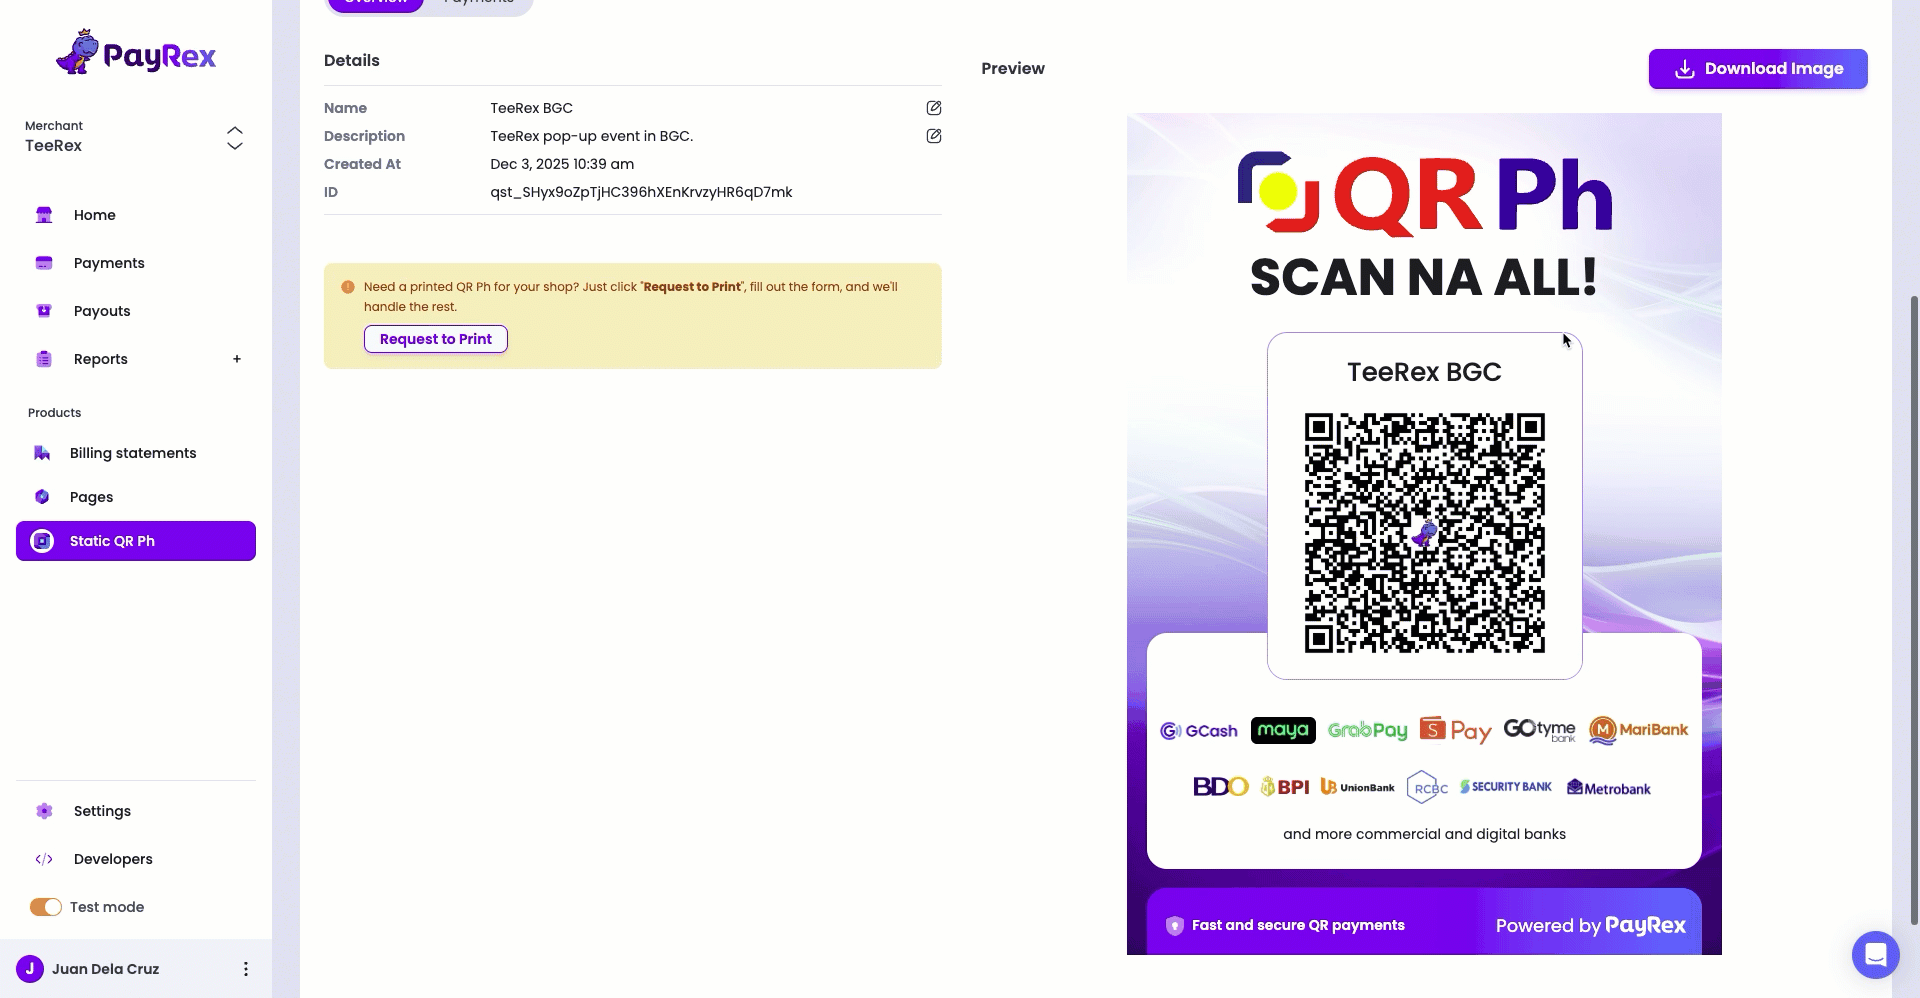
- Print the downloaded image on a high-quality paper of your choosing or on a sintra board to make it into a standee.
- While our layout is designed based on the QR Ph standee standards, some printer settings may modify it.
- After printing your QR Ph code, try it out first with your participating bank or e-wallet app to check its scannability and readability.
- This is to avoid any inconveniences when receiving actual payments from your customers.
Get your FREE static QR Ph standee
-
On the QR Ph details page, click on the Request to Print button.
-
Our Intercom chat box will open. Click the messages option and input your request, including standee size preferences if you have any.
You can also request for your static QR Ph standee here and we'll print it for you, free of charge.
3. Allow your customers to scan the QR Ph code and complete their payments.
Scan a test mode static QR Ph using your phone's camera. This only simulates a test payment. In a real or live mode static QR Ph, you must use your e-wallet or mobile banking app to complete a payment.
After your customer pays via your static QR Ph code, you can check the payment status on your PayRex dashboard.
- On the Static QR Ph resource, select the QR Ph code that your customer used to pay. Click on the payments tab and verify the transaction details.

- Each QR Ph code has a dedicated payments tab that lists all the transactions made using that specific code. This makes your verification and reconcilliation more organized.
- If you need to check all of the payments that you received via PayRex regardless of payment method, you can do so on the payments resource.